
How to build bee traps for carpenter bee control in 2026
Carpenter bees silently bore into your home’s wooden structures, creating costly damage that worsens each season. These large, solitary insects target fascia boards, decks, and railings, leaving behind unsightly holes and weakened wood. Building effective DIY bee traps offers a safe, chemical-free solution that exploits their natural nesting instincts. This guide walks you through selecting materials, constructing traps, and placing them strategically to protect your property without harming beneficial pollinators.
Table of Contents
- Understanding Carpenter Bees And Why Traps Work
- Preparing Your Materials: What You Need To Build Effective Bee Traps
- Step-By-Step Instructions To Build And Install Bee Traps
- Maintaining And Optimizing Your Bee Traps For Ongoing Control
- Protect Your Home With Quality Carpenter Bee Traps
- FAQ
Key takeaways
| Point | Details |
|---|---|
| Trap design matters | Box and tunnel traps mimic natural nesting preferences, significantly improving capture rates when properly constructed. |
| Strategic placement works | Position traps 5 to 7 feet high near active bee tunnels or wooden structures for maximum effectiveness. |
| Safe for pollinators | DIY carpenter bee traps target only destructive wood-boring bees without harming honeybees or other beneficial insects. |
| Maintenance maximizes results | Regular emptying and seasonal repairs keep traps functioning at peak performance throughout active seasons. |
Understanding carpenter bees and why traps work
Having summarized the key facts, now explore why traps that mimic natural nesting sites attract carpenter bees so effectively. Carpenter bees cause significant damage to wooden structures by boring circular holes roughly half an inch in diameter. These solitary insects tunnel deep into wood to create nesting galleries where females lay eggs and provision larvae with pollen.
Unlike social honeybees, carpenter bees work alone. They prefer old, unpainted softwoods, with specific types like redwood and cedar topping their preference list. Pine and cypress also attract them readily. The bees actively seek dark, enclosed cavities for nesting and are drawn to entry points that allow light penetration, mimicking natural tree hollows.
Their lifecycle spans several weeks from egg to adult. Understanding this timing helps you deploy traps during peak activity periods in spring and early summer. Female carpenter bees return to existing tunnels year after year, expanding the damage progressively.
Effective traps exploit these hardwired behaviors:
- Dark interior chambers simulate natural nesting cavities
- Multiple entry holes provide options carpenter bees instinctively investigate
- Wood construction feels familiar and safe to prospecting females
- Strategic placement intercepts bees before they damage your structures
Traps work because carpenter bees are attracted to dark, enclosed spaces that replicate their preferred nesting environment. When they enter the trap’s tunnels, they become disoriented and cannot easily exit, eventually falling into a collection chamber. This natural approach requires no pesticides or chemicals, making it safe for your family and beneficial insects. For homeowners wanting immediate solutions, simple carpenter bee traps offer professionally designed alternatives.
Preparing your materials: what you need to build effective bee traps
After understanding how carpenter bees behave, learn which materials and trap types effectively mimic these behaviors for building functional traps. Two main designs dominate DIY approaches: box traps and tunnel traps. Both styles mimic natural preferences, but they differ in construction complexity and capture mechanics.
Box traps feature an enclosed chamber with multiple entry holes drilled into the sides. The dark interior attracts investigating females. Tunnel traps use a solid wood block with narrow passages drilled at specific angles, creating a maze that disorients trapped bees. Research shows traps with multiple entry holes capture more bees than single-entrance designs.
Here’s what you need for both trap types:
- Untreated cedar, pine, or redwood boards (4x4 or 6x6 inches)
- Drill with 1/2 inch and 3/4 inch bits
- Saw for cutting wood to length
- Clear plastic bottle or jar for collection chamber
- Exterior wood screws
- Sandpaper for smoothing edges
- Mounting hardware like brackets or hooks
| Trap Type | Best For | Pros | Cons |
|---|---|---|---|
| Box trap | Large areas, multiple bees | Holds more bees, easier to empty | Requires more materials |
| Tunnel trap | Targeted placement, single bees | Simple construction, compact | Smaller capacity |
| Plastic hybrid | Budget builds, experimentation | Weather resistant, lightweight | Less attractive to bees |
Durability matters when building outdoor traps. Untreated wood weathers naturally but lasts several seasons with basic maintenance. Avoid pressure-treated lumber, as chemical preservatives may repel bees. Select boards free from cracks or splits that could compromise structural integrity.
Pro Tip: Drill entry holes at a slight upward angle to prevent rainwater from pooling inside the trap, which reduces effectiveness and promotes mold growth.
For homeowners seeking convenience, professionally crafted simple carpenter bee traps eliminate guesswork and deliver consistent results. Pre-built options save time while ensuring optimal hole sizing and chamber design that maximizes capture rates from day one.
Step-by-step instructions to build and install bee traps
With materials ready, take readers through clearly organized build and placement steps to ensure trapping success this season.
- Cut your wood block to 6 to 8 inches in length for adequate tunnel depth.
- Mark entry hole locations on each side, spacing them 2 inches from the top edge.
- Drill four 1/2 inch diameter holes at slight upward angles through the block’s sides.
- Create intersecting tunnels by drilling a vertical channel through the block’s center.
- Smooth all rough edges with sandpaper to prevent bee injury during entry.
- Attach a clear collection bottle to the bottom opening using screws or strong adhesive.
- Install a mounting bracket or eye hook at the top for hanging.
Proper placement dramatically affects trap performance. Position traps 5 to 7 feet high near existing carpenter bee activity for maximum effectiveness. Bees readily investigate traps mounted at this height, which mirrors their natural nesting preferences in building eaves and tree branches.
Focus installation in these high-activity zones:
- Underneath deck railings and fascia boards
- Near existing carpenter bee holes in wood siding
- Along porch overhangs and pergola beams
- Adjacent to unpainted wooden fences
Studies confirm placement near eaves and railings increases trap success significantly. Orient entry holes to face areas where you’ve observed bee flight patterns. Morning sun exposure can help, but avoid all-day direct sunlight that overheats the trap interior.
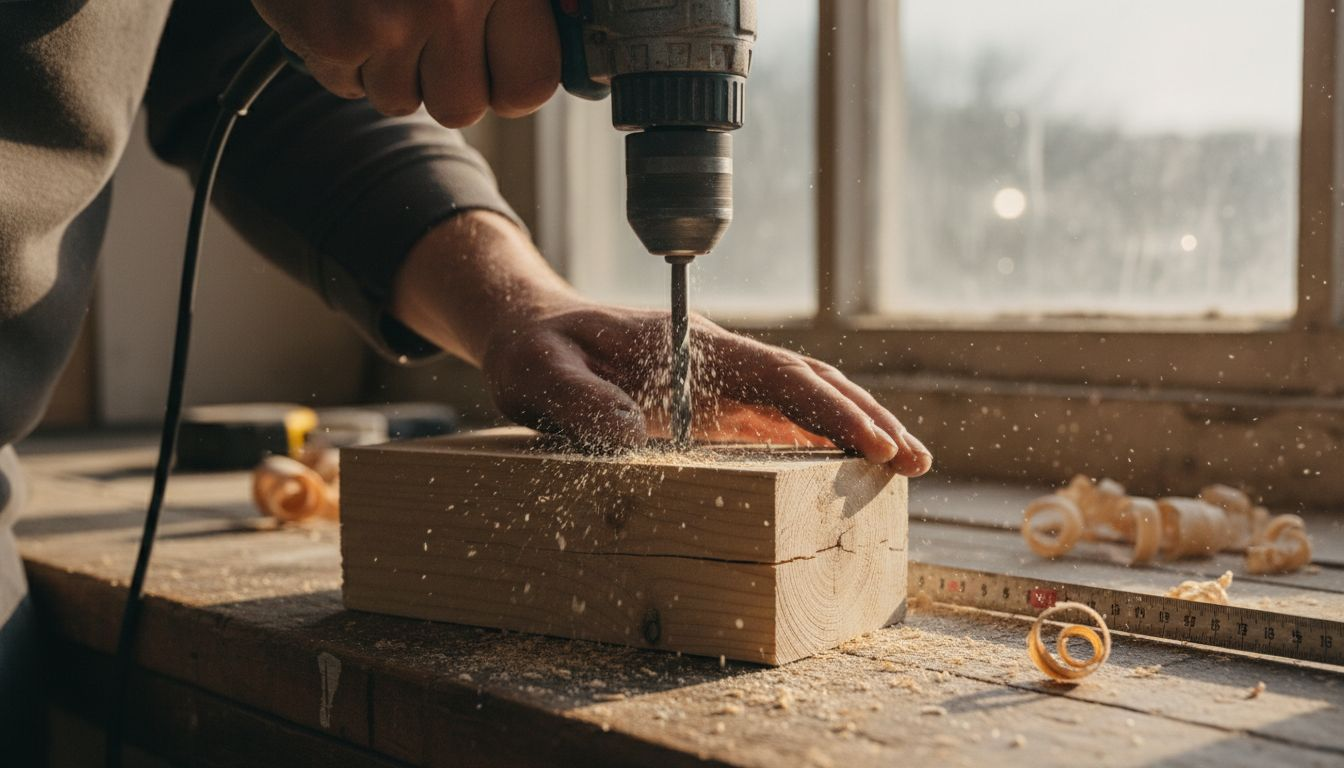
Safety comes first when working with power tools. Wear safety glasses during drilling and cutting operations. Secure wood pieces firmly in a vice or clamp before drilling to prevent slipping. Keep fingers clear of blade paths and drill bits at all times.
Pro Tip: Install multiple traps spaced 15 to 20 feet apart around your property’s perimeter to create an effective defense network that intercepts bees from multiple approach angles.
Check traps weekly during peak spring activity to monitor capture rates. Empty collection chambers promptly to prevent overflow and maintain the trap’s dark interior appeal. For homeowners wanting proven designs without construction effort, explore options at K9 NOX ARTISAN CRAFTS for ready-to-install solutions.
Maintaining and optimizing your bee traps for ongoing control
After building and placing traps, ensure long-term success through proper care and supplementary preventive measures that stop reinfestation. Regular maintenance including emptying chambers keeps traps functioning at peak effectiveness throughout active seasons.
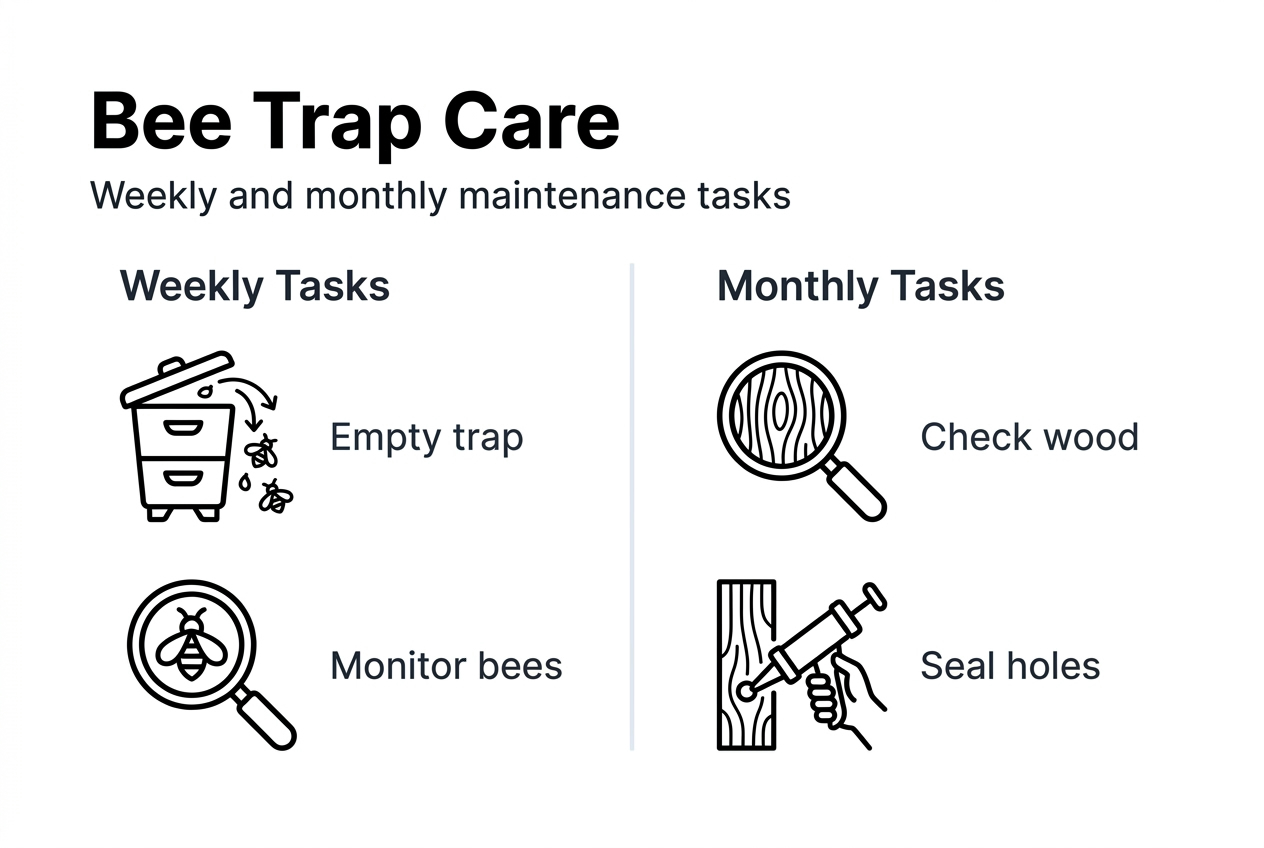
Empty collection bottles weekly during spring when carpenter bee activity peaks. Trapped bees quickly fill chambers, and overflow reduces the trap’s appeal to new arrivals. Remove the collection bottle, dispose of contents responsibly, and reattach securely.
Inspect trap bodies monthly for weather damage. Wood naturally weathers outdoors, but cracks or splits compromise trap integrity. Replace damaged sections or apply exterior wood glue to minor cracks. Ensure entry holes remain clear of debris, spider webs, or nesting materials from other insects.
Prevention works alongside trapping for complete control. Sealing existing holes prevents carpenter bees from returning to established nests. Fill old tunnels with wood putty, caulk, or steel wool pushed deep into cavities. Seal openings in early fall after bees complete their lifecycle.
Applying paint or stain to exposed wood surfaces provides excellent long-term protection. Painting exposed wood helps discourage carpenter bees from nesting, as they strongly prefer bare, weathered lumber. Focus painting efforts on fascia boards, deck railings, and other vulnerable areas.
| Maintenance Task | Frequency | Purpose |
|---|---|---|
| Empty collection chamber | Weekly in spring | Maintain trap capacity |
| Inspect for damage | Monthly | Ensure structural integrity |
| Clean entry holes | Monthly | Remove debris and obstructions |
| Seal old tunnels | Fall | Prevent nest reuse |
| Apply paint/stain | Annually | Deter new nesting |
| Replace worn traps | Every 2-3 years | Maintain effectiveness |
Traps lose effectiveness over time as wood weathers and structural elements degrade. Plan to replace homemade traps every two to three seasons. Commercial options like simple carpenter bee traps typically last longer due to superior construction materials and weather-resistant finishes.
Combine these maintenance practices for comprehensive carpenter bee control:
- Keep trap interiors dry by ensuring drainage holes function properly
- Remove wasp nests that occasionally form in trap chambers
- Adjust trap placement if capture rates decline after initial success
- Monitor wood structures regularly for new carpenter bee damage
Consistent attention to trap maintenance and property-wide prevention creates an inhospitable environment for carpenter bees while protecting your investment in wooden structures. This integrated approach delivers results without relying on harmful chemicals or professional pest control services.
Protect your home with quality carpenter bee traps
Building your own traps teaches valuable lessons about carpenter bee behavior and control strategies. However, professionally designed simple carpenter bee traps offer immediate protection with proven effectiveness. These ready-made solutions feature precision-drilled entry holes, optimal chamber dimensions, and durable construction that outlasts homemade versions.
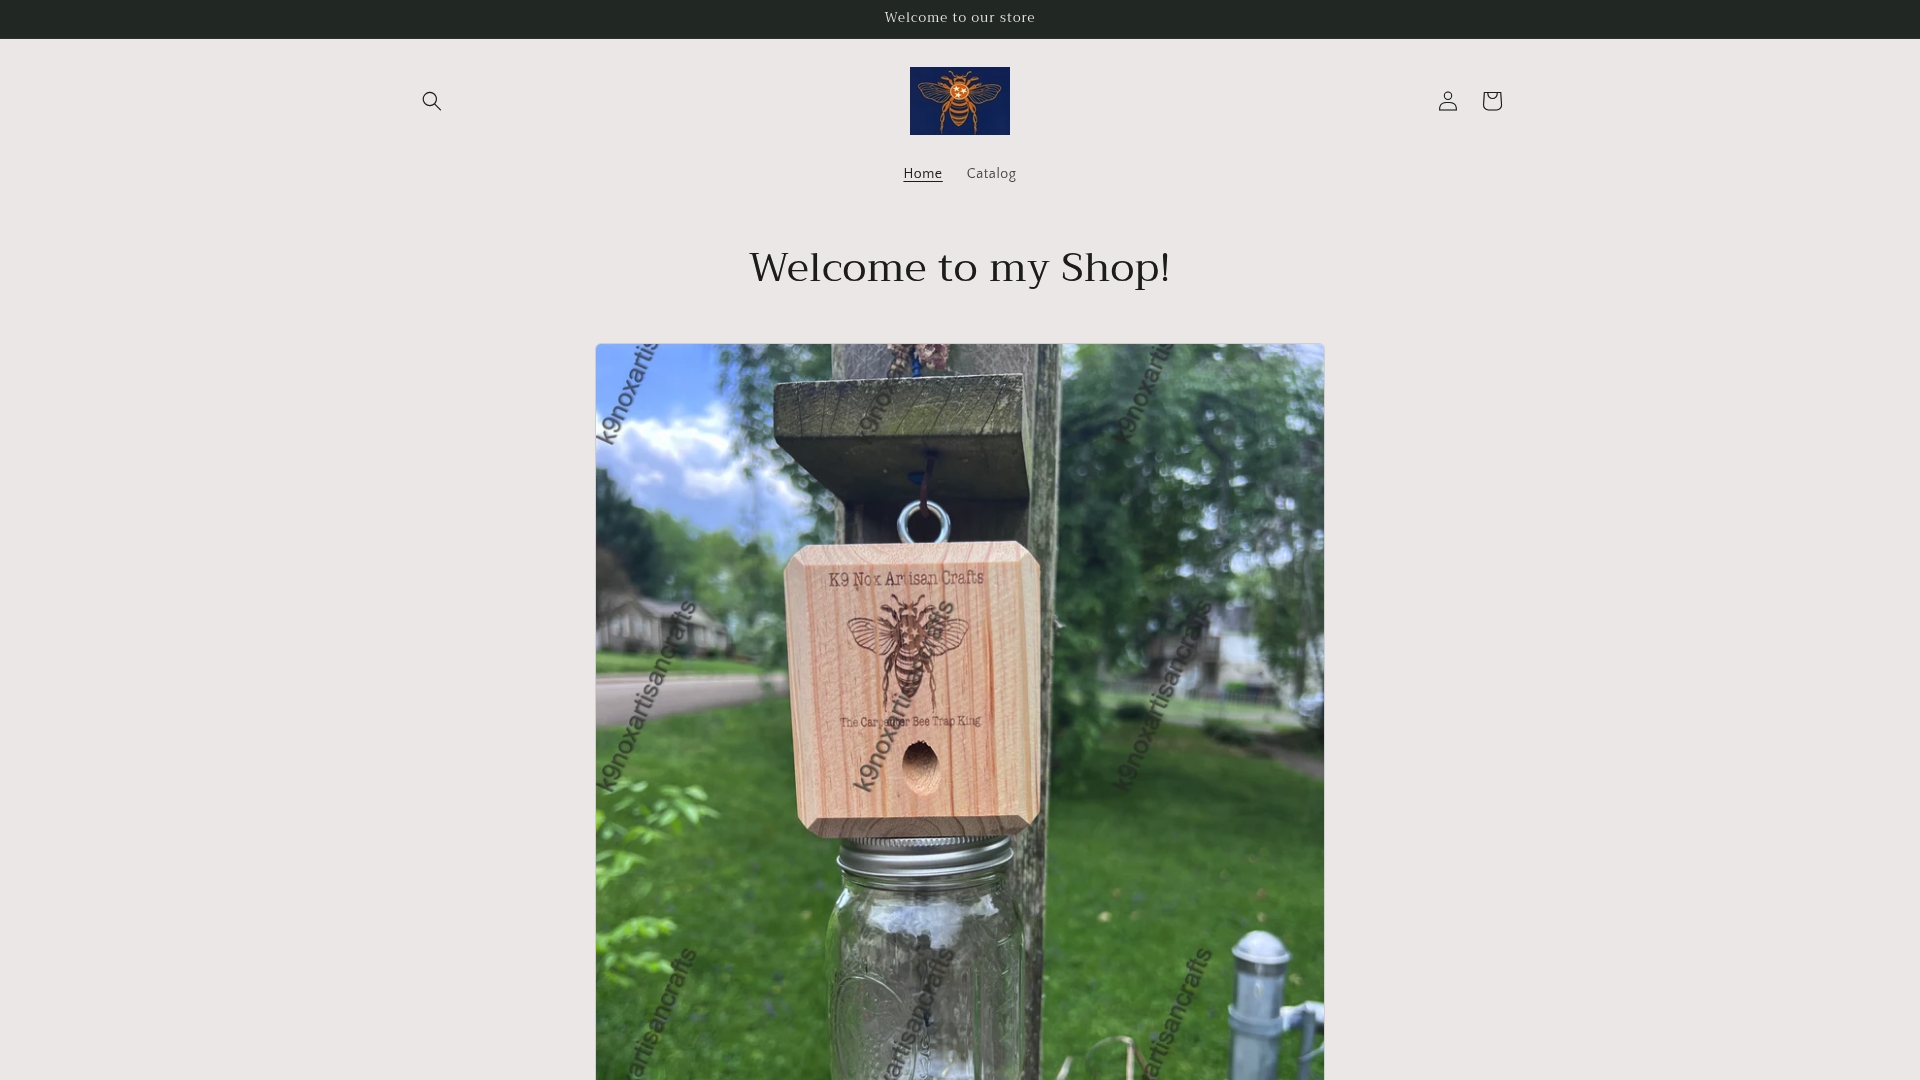
Quality commercial traps save hours of construction time while eliminating trial and error in design. They arrive ready to install and start working immediately. Handcrafted options from K9 NOX ARTISAN CRAFTS combine traditional woodworking with modern understanding of carpenter bee behavior. Each trap undergoes quality testing to ensure maximum capture rates.
Explore the full range of top selling products to find solutions matching your property’s specific needs. From single traps for targeted protection to multi-trap packages for large properties, professionally made options deliver reliable carpenter bee control season after season.
FAQ
What materials are best for building bee traps?
Untreated softwoods like cedar, pine, or redwood work best because carpenter bees naturally prefer these species for nesting. These woods weather well outdoors and provide the authentic texture bees seek. Weather-resistant plastic models also function effectively if constructed with proper entry hole dimensions and dark interior chambers.
Where should I place carpenter bee traps on my property?
Mount traps 5 to 7 feet high near active bee tunnels or wooden structures like eaves, deck railings, and fascia boards. Position traps in partially shaded spots that receive morning sun but avoid intense afternoon heat. Face entry holes toward areas where you’ve observed bee flight patterns for optimal interception.
How often should I maintain and check my carpenter bee traps?
Empty collection chambers weekly during peak spring activity to prevent overflow and maintain effectiveness. Inspect traps monthly for weather damage, debris blockages, or structural issues. Perform thorough cleaning and repairs each fall before storing traps or leaving them in place year-round.
Can these traps harm other beneficial insects?
DIY traps do not harm other insects or bee types because they specifically target carpenter bee behavior. Honeybees, bumblebees, and other pollinators show no interest in the dark enclosed spaces that attract carpenter bees. The trap design and placement naturally filter for wood-boring species only.